Showing posts with label Girl Bedroom. Show all posts

We are now at week 2 of the One Room Challenge. I picked a tiny room for my challenge and thought to myself that 6 weeks will be more than enough time to complete this room. I have no fear that it won't be completed by 6 weeks, but at the rate I'm moving it may not be done earlier than I anticipated.

In case you've missed it, here is the post on my selected room.

What have I accomplished from last week? Well, sadly not a whole lot.


Before


In Process
One coat of the chalkboard paint was thrown on, to be honest....yesterday! Second coat hopefully will be put on today. This is my first time using chalkboard paint and it wasn't really any different than painting with regular paint. I little tip though, if you aren't going straight home to paint with this particular paint, note that you need to do a lot of stirring before you start. It really becomes thick on the bottom of the can, so either be prepared to stir a lot, or take it down to your closet paint retailer and ask if they will shake the can for you.

Also, it wasn't a completely lazy painter move as you see the lights dangling there,I couldn't take the lights down because there is no other light source in this tiny room and no windows.

I didn't exactly show my plan for this room last week, so here is what our current plan is.


A Chalkboard wall.

Via Felt So Cute

Bean bags for lounging.
 
Via PB Teen
 Sheep skin rugs for softness and texture in the room.


Via Ikea


Painting the remaining three walls and the slanted ceiling in an ombre effect. Using the same turquoise color that we painted her bedroom ceiling with.


Via P.S. I made this

 Adding this fun banner on one of her walls.

Via PB Teen
I will also attempt to paint her bookshelves in this room, add a full length mirror to one wall and some wall hooks, and find some new lights. I best get going!

It was really fun seeing the over 70 other bloggers link of to Linda's challenge. There are lots of fun projects going on. If you'd like to follow along, go check out Linda's blog.
Today is the day to link up to Linda's (Calling It Home) One Room Challenge. I'm so excited to be able to partake in this challenge because I seriously need a fire lit under me to get this "little" project done. Thank you, Linda for having this linking party!


If you are popping over from Linda's blog... Hello, and thank you so much for stopping by! I will quickly introduce myself: My name is Stacey and I am from and still live in the Pacific NW. I have three daughters (23,14 and 12), and have been a stay at home mom for the last 14 years. I have always had a strong love for interior design but it has gotten stronger over the last 14 years while being at home with the girls. I FINALLY decided as I approached the big 4-OH to take an interior design course (Sheffield, now named New York Institute of Art and Design) and see where it leads me. I decided to take the course so that I could learn a little bit more about design and hopefully gain some confidence in what I am doing in my own home, but I would really love to help others with their spaces now. When I finish my course I will hopefully add a e-design option to my site to hire me if you are not in the Seattle area and hopefully will start working for local clients.
Well, that about sums up me, right now.

Let's get back to the Challenge. What have room I chosen? As much as I would've loved to makeover my kitchen (in 6weeks, ha!), or my laundry room, or my master bedroom.. or maybe even just finish my family room, or living room, or dining room...but what really needs to be finished is my 12 year old daughter's room.

A little back history on this space, both my 14 & 12 year old daughters have shared a very large bedroom since we moved into this 3 bedroom home, 12 years ago. After, my now 23 year old daughter moved out on her own, my 14 year old moved into her old room and the 12 year old scored the large room to herself. So both younger daughters deserved a room makeover with this switch. Still with me??

I started this bedroom makeover in mid- July. Now, almost 3 months later it is sadly still not completed. Poor girl hasn't had window coverings in nearly 3 months! Yikes.
I will not use her actual bedroom as the challenge however since it is nearly 80% done. What I am doing, is her little hideaway room that is connected to her bedroom.

This is what its current state looks like. Real life, no editing.


 As you can see the preteen years are slightly starting to take over the sweet pastel butterflies, flowers and bees theme we had going on in here, and I had already started priming some paint over a few of them. I will miss those cute little bugs and the sweet memories of younger years when the girls were itty bitty.

I wish I had pictures of what this room looked like when the girls were little. We had a kitchen set in here and a cute little café table and chairs. It was the PERFECT play area for them both and their friends. Plus when it got ransacked and Polly Pockets and Barbies were spewed out everywhere, I could just close the door.

Now, it's just her and she's well....12. She would now like to use this space as place to get dressed, and a place for her and her friends to sort of hideaway and hang out. A place to play board games, or play on their iPods/iPads/iwhatevers. It's also a great area for her to practice her flute, and snuggle into her bean bag and read a book.

We have a lot of fun ideas for this room. You can check out my inspiration board on Pinterest to get some ideas of what we are thinking. I hope you'll come back each week and see the progression. Actually, I'm begging you to come back and keep me in line and don't let me slack off. Thank you in advance!

Don't forget to go to Linda's blog though and see all the other link ups today. It's going to be so much fun to see who else is linking up and what other rooms are being made over.

I also love to have new followers, so if you'd like to follow me on my journey, you can follow me by Bloglovin or by Google Friend Connect or by email delivery, just look over on the right hand side, and/or follow me on any of the other social media outlets as well. I like to meet new friends and will follow you back!

So I will be perfectly honest with you, I am (if you don't know already) not a crafty person, or a true diy gal. I'd like to be but #1, I'm a little afraid of power tools (need to work on that), #2, I'm a bit lazy and would rather just buy it than make it, and #3, did I mention I might be a tad lazy?

However, one thing we definitely do around our home is paint ourselves. I sort of like it other than the prep work and the clean up afterwards. Other than that, I like it. Haha. Again, did I mention the laziness?

We try to be very detail oriented while painting though. There's nothing like spending all that time prepping and moving furniture, painting, and having it look like a 6 year old slopped some paint on the wall. We try to do our very best with the cut in work around the moldings and trim work, and if we are doing the ceiling and walls a different color, we do our best to make that as straight of a line as we can.

Our old trick was to put tape on the ceiling close to the intersection of the wall as possible, and first paint the color of the ceiling to seal in the tape. Once that was dry, we would paint over with the wall color. Pull it off and voila, a straight line. Well, most of the time. But we have textured walls, and sometimes it doesn't come off quite as straight as I'd like.

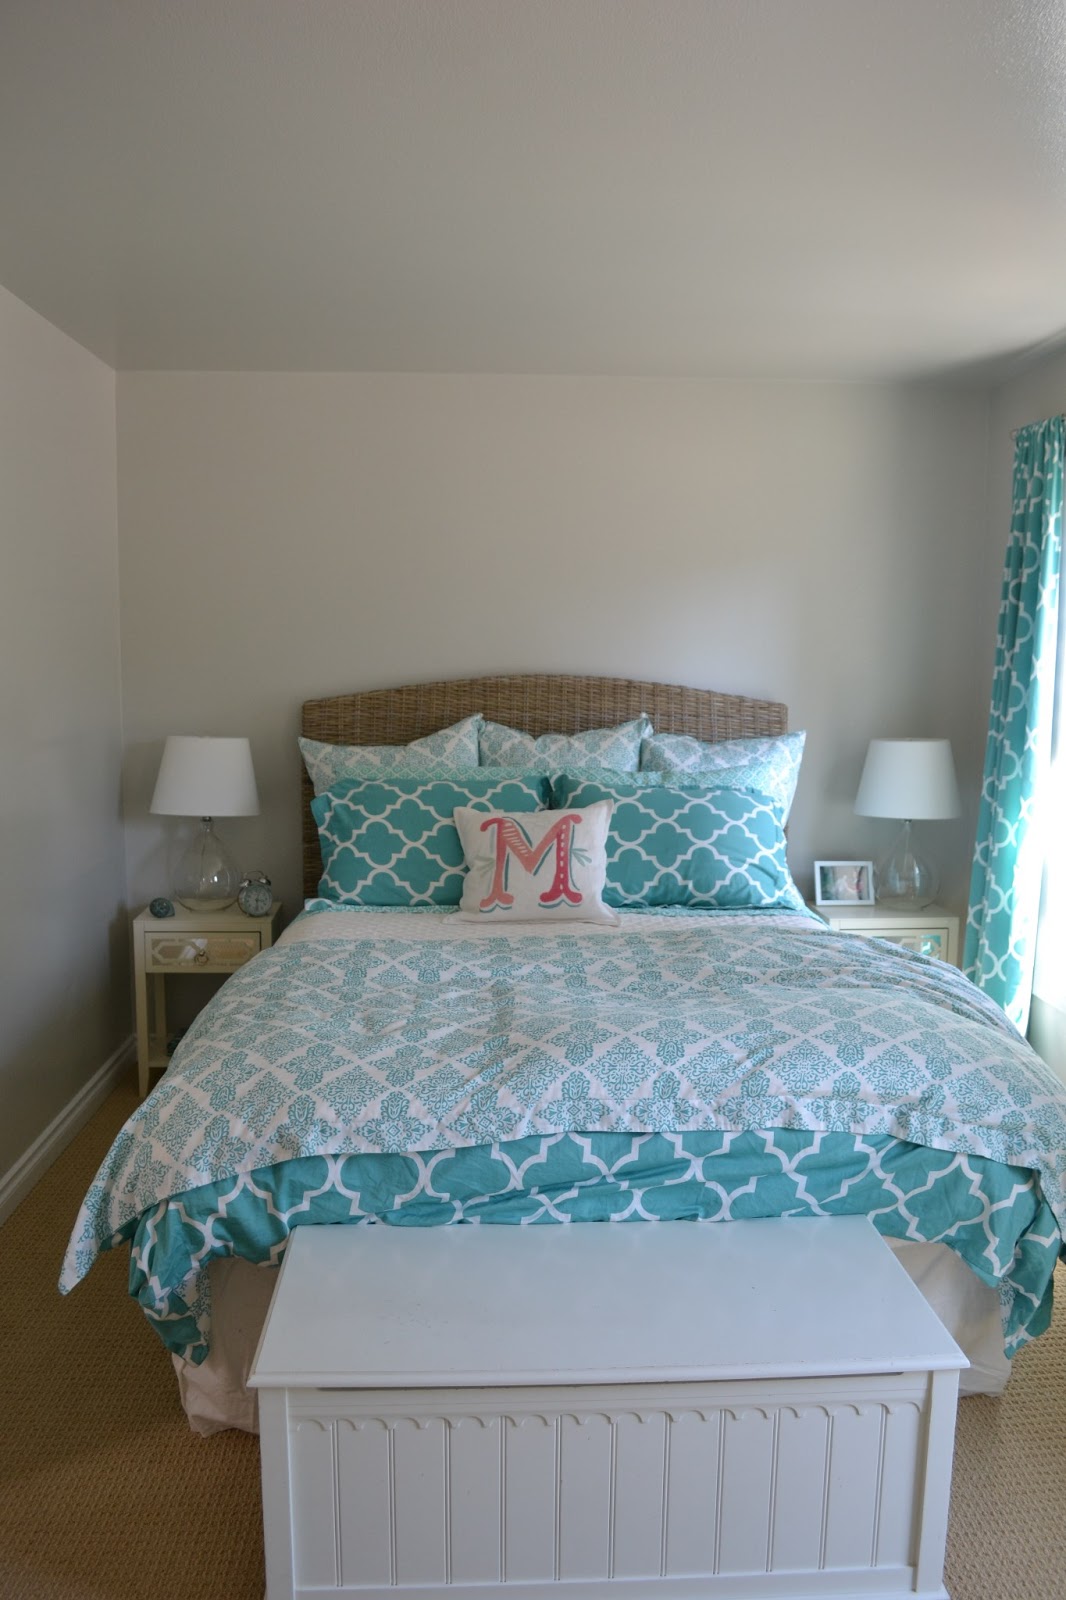
Recently, we've been working on daughter #3's room, ( #3 for birth order, not for how well she is favored) We painted her ceiling a fun turquoise color and painted the walls white. I wanted to do something fun, so decided to put a green stripe at the top of the wall, where crown molding would go.

I was researching how to paint a stripe, since I've never done any and I found a "new to me" trick that I was intrigued to test out.

(note, do not put caulk where it shows in this picture. I couldn't keep my hand placed right on line while taking picture in the other hand.)
 
 So, first step is to tape the ceiling right up to the edge of the wall.
Then for your stripe or stripes; decide how big you want the stripe and then take a measuring tape and make pencil marks every 12 inches or so along the length of your wall. Then take your tape and tape along those marks. You might want to take a leveler to make sure you made your tape line straight.
Then once it's all taped up, take white paintable caulk and very lightly put in on the edge of the tape lines and take your finger and thin it out along the line. This is to seal the tape really well, and gets in the grooves of your textured wall.


Then you are good to go on painting your stripe(s). I let my paint dry but after re-reading/watching some other tutorials, you don't need to wait for paint to dry and can pull it right off.


I was very happy with this new trick and will definitely use it again.  Have you used this trick before?
There are many youtube videos out there if you need a more visual tutorial.

The room is getting closer to be done. Need curtains, curtain rods, art, reupholster her desk chair, and maybe a rug. Again, other than that it's almost done. Whew! Better get my butt moving.
Hope to share the end results soon!
**Disclaimer** I know I don't paint the best picture of myself (no pun intended) about myself being lazy. If anyone ever wanted me to help them in their own home (which is my goal someday), I would not be lazy for anyone else. It's just in my own home projects that things tend to get pushed aside, and prolonged longer than they should. Anyway, just wanted to be sure you all knew I have "selective" laziness, and should be seeking help for it soon. Hopefully, I'm not the only one out there that has that disease.
Summer has been flying by and this blog has definitely been taking a back seat.
Thought I'd share some pics of what's been going on lately in no particular order...

Spending time eating al fresco, and hosting a few small dinner parties.

With all my favorite shows being on hiatus for the summer, I've found a few new favs and some old ones returning.
The Bachlorette is on of my guilty pleasures, along with Pretty Little Liars, and a lot of shows on Bravo.
Super excited to watch the Bachelorette finale tonight, and inviting a couple of my girlfriends over to watch with me so we can talk to the tv together!

OMG! Took both my 14 & 12 year old daughters to the One Direction concert in Seattle. My ears seriously rang the whole next day! I think some damage was done. Sorry, what?
Apparently the new way to show you like a song is to scream a blood curdling scream in the highest pitch you can. If you clap like me after a song, you.are.a.nerd! 

Still working on my dining room, and living room and adding things to my new shelves. I am loving the way these rooms are turning out and can't wait to show you when they are both done.


While daughter #3 was away at camp, I had to say goodbye to this sweet this girl's room and paint over the flowers, birds and butterflies. You will be missed. :(
So, while she was gone I had to bust out some quick painting. The ceiling was painted a fun turquoise color, the walls white, and a fun green stripe was added. I will do a post soon on how to make a (new to me) way to make a super straight line on textured walls.
Also, excited to share this room when its complete. Loving it so far....

Girls did a golf camp, and we did a family night of golf. Love this shot with my daughter trying to photo bomb us!

We've done a couple soccer tournaments, and have one more this summer on our list.

Got new pillow cases for the living room, and absolutely love these! Will show room soon....
Spent a little time at the beach with the girls and their friends...
Daughter # 2 and my husband went on a little adventure this summer....


And a little sneak peek of a chair I will be redoing for said daughter's room above... Well, I will be painting the wood, and have a professional redo the fabric.


So, that about sums up my summer so far. Hope yours has been going well too. Any fun projects or vacations lay ahead of you in this final month?
 
 
I am a bit obsessed with Instagram lately too. So fun seeing projects other bloggers/ designers are working on and seeing into their lives a bit with family photos, and vacations. Feel a little bit of a stalker.
If you'd like to follow me, find me at Steward of Design on Instagram and follow along! 


Go over to Emily's blog today to see some great links of kids' spaces and for a great PB kids giveaway


I will be posting my links of my daughter's room and the girls' shared bathroom.


If you are looking for inspiration for some kids' spaces, definitely hop over to her site and if you enter in the giveaway... good luck!
While my daughter #2 is away on an exciting trip to China, I have been able to get into her room, clean, organize, and add a few touches. Guess it takes a child to leave the country to get stuff done huh?

Since this will only stay clean for a little while, until she returns, I thought I'd finally get around to taking photos of her room for posterity.

We have three daughters, and live in a three bedroom home. The two youngest daughters  (now 14 and 12) shared a very large room from the birth of the youngest until about a year and a half ago, when our oldest who is now 22 moved out on her own. {gulp}

When she moved out, I thought there would be bickering between the younger two on who would have the large room all to themselves but surprisingly my middle daughter wanted the smaller room. Okay....

So, we redid the room for her and it is now complete.... I think.

Of course, this is not entirely the way I would like to have decorated the room, but this child has very specific wants, and it is her room after all. When I walk into this room, I do feel very calm (except for when there are clothes scattered all over and homework, books, papers littering the floor). It has a very tranquil feeling and for this child, it is exactly what she needs!


Pretty simple and that's the way she likes it. I adore the colors, but wished she had let me have chosen different drapes and added more to the walls or add in more colors. I'd also like to add a big area rug under her bed to add another color and pattern, and I'd even like to switch out her shades on her lamps. Hopefully some crown molding will be added as well. Maybe in time she'll let me play around a little more with her room.
 
Other than the occasional tornado that she creates in her room ( like most teenagers), she doesn't like a whole lot of knick-knack type stuff. As I helped her do this room, I found out that she gets overwhelmed with too many things in her room, so we kept it very simple. And for this small space of a bedroom, we couldn't really add too much else anyways.
 
Where is her dresser, you may be wondering... it just happened to be the perfect size to slip into her closet. The only dilemma we had with that was where to put her shoes?  The toy box  chest at the foot of her bed is now where her shoes are thrown into and has worked out great. I am actually hoping to have a cushion custom made to put on top of the chest.
 
Little details about her room:
Paint color: Gray Owl by Benjamin Moore
Headboard: Pier One
Duvet cover, shams and drapes: Zgallerie
Sheets: PB Teen
Throw pillows: PB Teen
Desk: Best Buy (online) rather cheap one though, if done over I would of stepped up and paid for a higher end one.
Chair and slipcover: Pottery Barn
Nightstands and lamps: Target
Toy box/chest: Crate and Barrel
She added shells from one of our trips to Hawaii, and the photo on the wall was a photo we took on our most recent trip to the Big Island. The London pillow was a nod to one of her favorite boy bands, One Direction and also singer, Ed Sheeran.
 
Anyway, that's the scoop on her room. Next up will be the room of daughter #3 and revamping it now that she's got the BIG O' Room to herself. Hopefully, I will have photos before too long.


Puttering around and wasting time on Pinterest the other day, I came across this AMAZING room for a little girl.
This is done by Mandi of Vintage Revivals for her own daughter Dylan.


Isn't that one of the most creative rooms you've ever seen? That is one lucky girl. I just love those colors!
The dog on the opposite side of the wall, the brown areas are made of cork board! Amazing!
Go here to Mandi's site to see more.
As I am just wrapping up a room makeover for my almost 14 year old daughter (yikes! how did that happen?), and I am gathering things to soon do a makeover for my almost 12 year old daughter (double yikes!), I have been scouting lots of different teen/tween stuff.
I found a few fun new items on Pottery Barn Teen and I thought I'd share them with you.


I just LOVE the colors on this chevron duvet cover! It's so spring like and fun!! And aren't those lights amazing?? Like little disco lights.
 This is a very fun headboard. If we were buying one for any of the girls, this would definitely be in the running.
I thought this was a fun and different one too. I really like the nail head trim. It also comes in pink and teal.


 These pillows are super cute as well. Too bad I already purchased our pillows.


And this chandelier! OMG. LOVE IT!
These chairs are so great and ironically I have the exact chair in my garage waiting for a makeover for the 12 year old's room. So excited to see what it will look like after I'm done with it.

Anyway, I will share my almost 14 year old's room with you one of these days. I am just waiting for a clear, sunny day and when the room is clean. Yeah, I know for both of those things to happen on the same day around here are pretty slim! Keeping fingers crossed it'll be soon.
To see my mood board inspirations for both girls, go here and here.

So, what's your favorite new item from PB Teen?