Let me remind you of the lovely table I started out with and accidentally ruined...
 |
| Good bye lovely patina! |
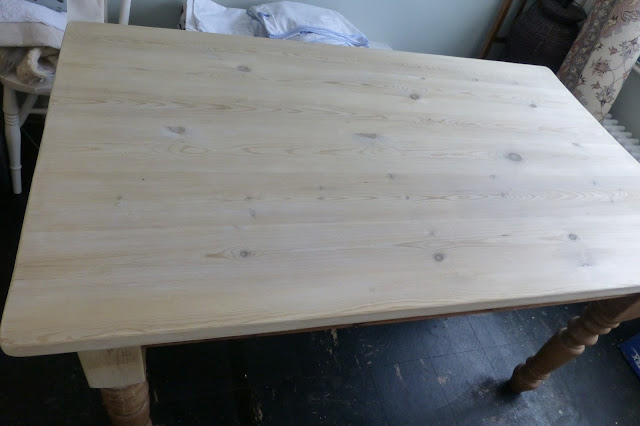
Oops. But it is very clean now. That's got to count for something on a dining table?
Time to bleach!
I was pretty concerned during the bleaching process. It looked very patchy. Some areas had crusty white flaky bits. Others appeared unchanged. I applied it so liberally that there were puddles! I thought I'd stuffed it completely up.
But after one treatment with a 2 part wood bleach...
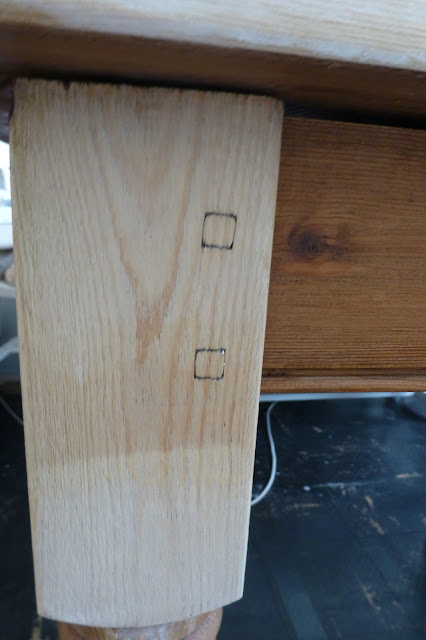
Oh yeah! Much better! But you remember my experimentation on the oil smeared table leg?
After one treatment: oil can be seen...
 |
| (Top: 1 bleach treatment. Middle: left alone. Bottom: 2 treatments) |
So seeing as I'm an all or nothing kind of girl, I thought I'd do another bleach treatment on the top because any wax or varnish will darken it...( you have to wait 2 hours between treatments.)
To be honest, I couldn't see a huge difference after the second treatment. I then used my table leg test zone and applied clear wax on one area and clear varnish on another area. This was hugely dissapointing. Both of them darkened the pine and brought out the orange again.
I realised that in order to get the paleness I was after, I would have to use paint which is exactly what I thought I could do without, having used the bleach. I made up a wood wash of F&B Cornforth White and water and applied this. You have to do this in the direction of the grain and drag your brush from one side of the table to the other with no breaks. If you keep lifting your brush you get a patchiness that looks like a bad paint job rather than an old bleached table top.
After the paint wash had dried I was REALLY pleased!
and up close...
Next I had to make another decision. Wax or varnish. Wax looks best as the wood still looks like wood. But I used this on my last dining table and it didn't stand up to grease stains. It's just not relaxing to have people over for Sunday lunch and have to scream at them if they spill the gravy on the table. Varnish can look very plasticcy and can sometimes detract from the wood. But it offers far greater protection.
Here's what I use- both. First a very thin coat of water based matt varnish following the wood grain. Then an incredibly light sand and one more thin coat dragging the brush from one side of the table to the other again, without lifting. This gives you a flawless smooth finish with no patchiness but you've got to work fast as it dries fast! If you're wanting a pale finish, NEVER use oil based varnish as it's always more yellow and darkens further over time.
 |
| This is what I use. |
After the varnish dried I moved onto wax. I used the darkest wax I had. The table top was beautifully pale but also very new looking! I want it to look like an antique farmhouse table so it needed dark wax to add age and character. (All this obsessing with paleness and now DARK wax? Trust me, it works!)
If you use a matt varnish and wax, the wood still looks very much like wood. The matt varnish takes the wax beautifully. It gives you great protection against spills. (I'll still have to use coasters and mats for hot things.)
I also gave it a sound thrashing, firstly with a lingerie bag filled with screws, then a lingerie bag filled with teaspoons. Just to stop this looking all perfect and new. Hopefully.
Blooming heck, this is an absurdly long process! And I'm not even onto the legs yet!
Want to see the completed table top? Is anyone still out there and reading this? Does anyone care?
Sooo, the whole process without dark wax...
and with dark wax...
...just a bit older looking.
Ta daa! So today I'm hoping to start on the legs. I want a crusty old finish. I'm not entirely sure of all the colours I need.
Come back and see the completed table soon. Hopefully!
P.S. I have not been paid by Ronseal or Rustins (the bleach) for this post. I just want to tell you the products I used.


.JPG)


